July this year, Azure got some new interesting VM types that where it’s possible to run Virtual Machines inside each other. This is called nested virtualization which previously has only been possible on bare-metal machines.
Before we get started there is one prerequisite:
- Azure account
Goals of this post (if the title was not enough):
- Start a new VM with the nested virtualization
- Install Visual Studio 2017
- Install Docker for Windows
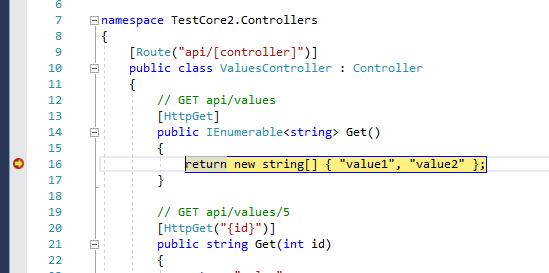
- Debug a .NET CORE 2 service
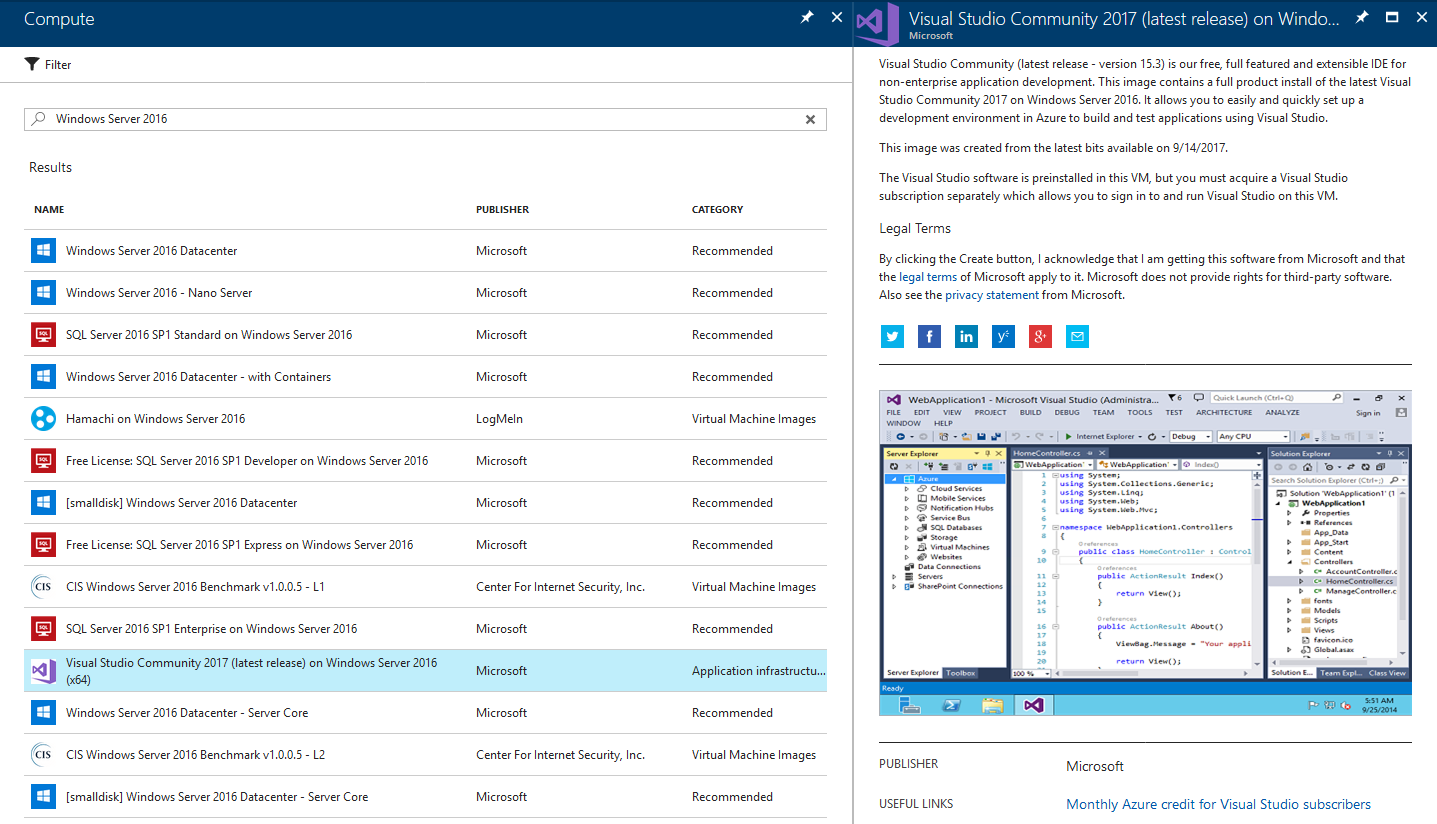
Open Azure Portal to create a VM, and it looks like Azure already had an image ready:
Apparently nested virtualization is not yet available everywhere in the world: https://azure.microsoft.com/en-us/regions/services/
Select your region to see if your region is supported. Since my region is Europa then only “West Europa” have support for nested virtualization.
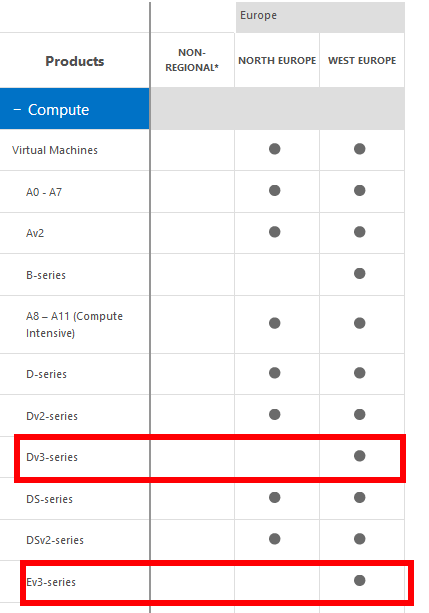
When choosing a VM size, look for all VMs starting with “D” or “E” and ending with “_V3”.
My choice was the “D4_V3”:
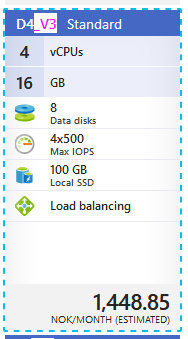
By default, the Linux image from “Docker for Windows” use 2GB memory so 16GB memory on the Host should be plenty. Tips: Avoid the use of “Premium disk support” if you are just testing stuff because this will cost you a lot even though the VM is shut down and deallocated. The new “Auto-Shutdown” option is also nice.
Click “Create” and wait in intense suspense for deployment.
After a few minutes, the VM has started and it’s time for the fun stuff like “will it actually work out of the box??”.
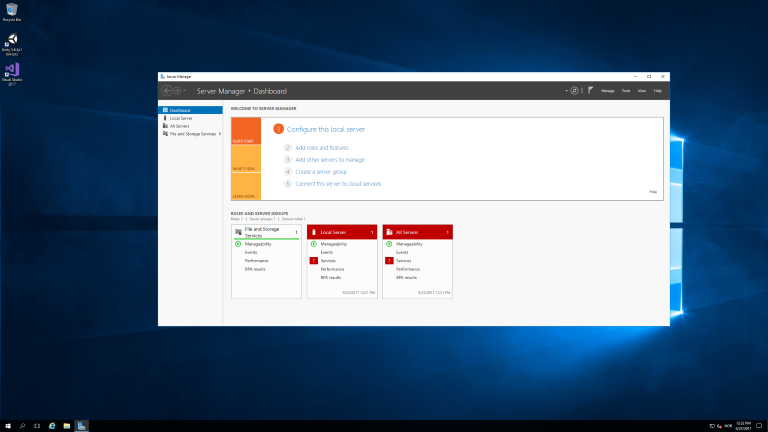
So far so good. First, I want to find out what exactly how much comes “out of the box”. It turns out that Hyper-V is disabled by looking at the “Turn Windows Features on or off” list.
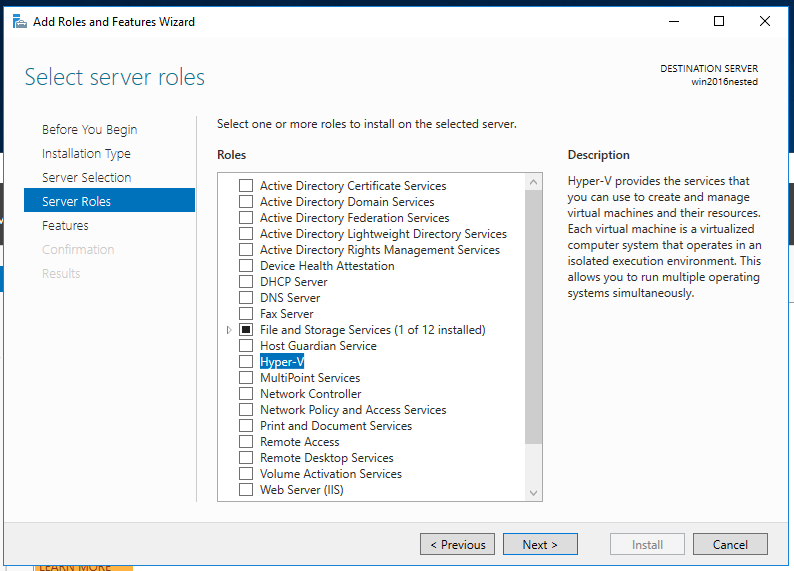
So, what happens if we enable this? Ok, click through the “Features” and tick the “allow destination computer to restart”. Install Hyper-V.
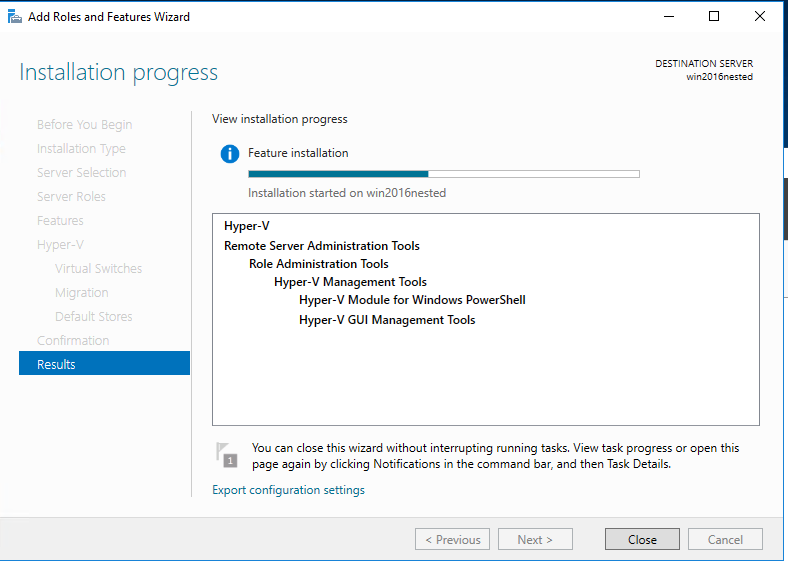
It will restart automatically after installing Hyper-V.
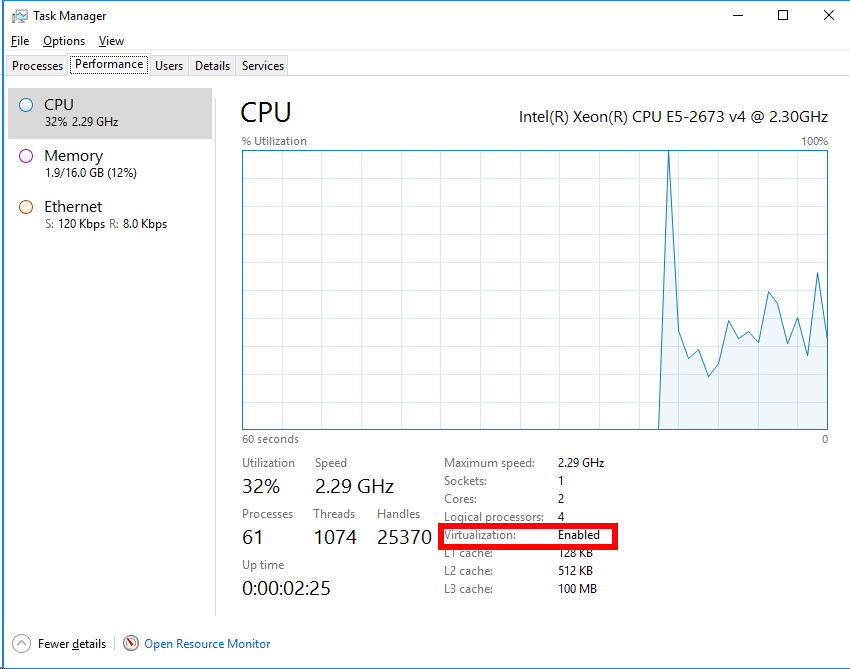
After rebooting the Task Manager is now showing that Virtualization is Enabled. Great.
If you do not find the newly installed Hyper-V Manager by searching for it, it’s because Windows have not yet indexed it. Just a bit annoying. Anyways, it will be somewhere here: C:\ProgramData\Microsoft\Windows\Start Menu\Programs\Administrative Tools.
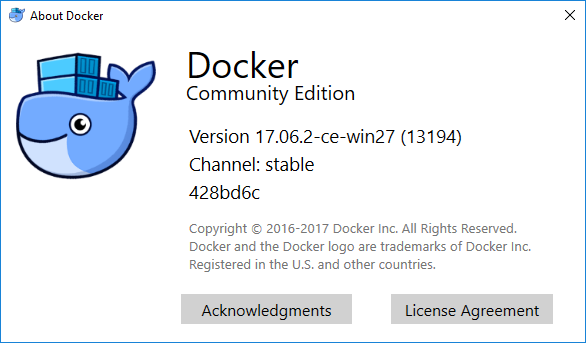
Installing “Docker for Windows”.
https://store.docker.com/editions/community/docker-ce-desktop-windows
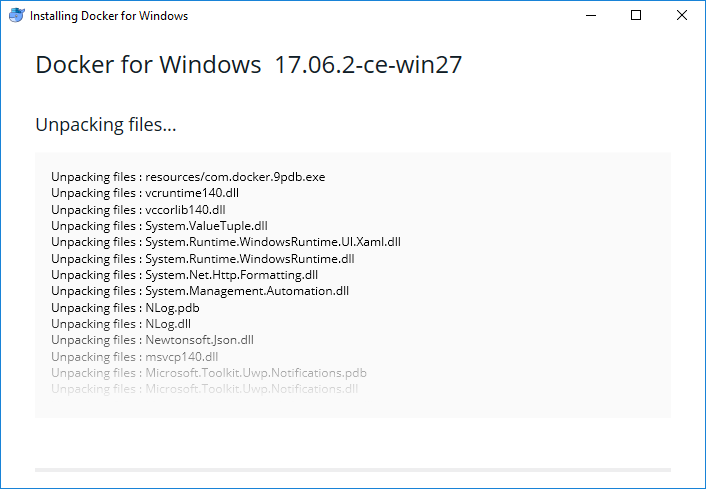
Promising..
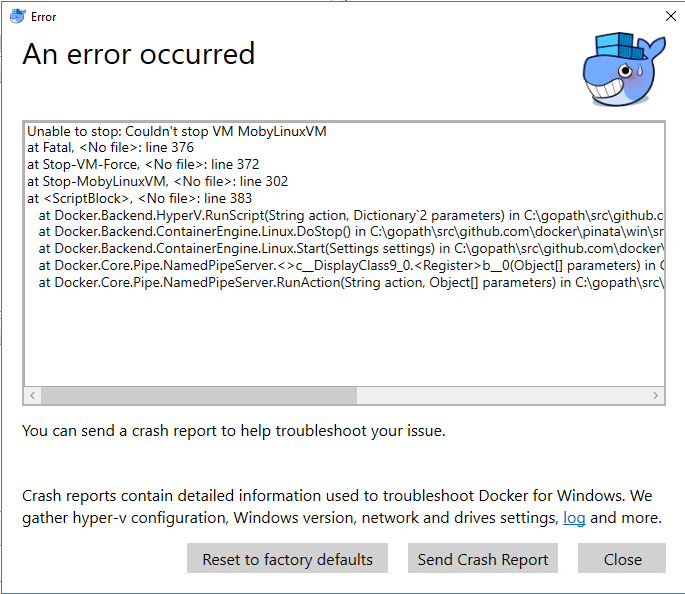
Err, was it too good to be true? Hmm. Troubleshooting time!
Clicking “Reset to factory defaults” button, but got new error:
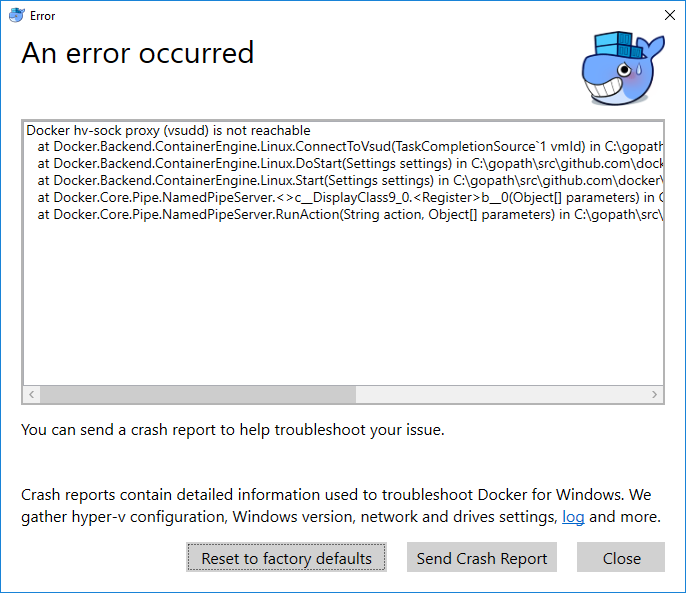
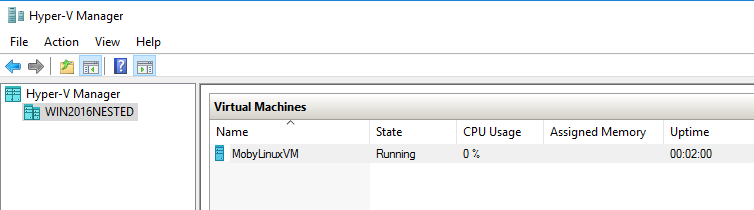
Restarting the VM to see if that will fix this, and behold!
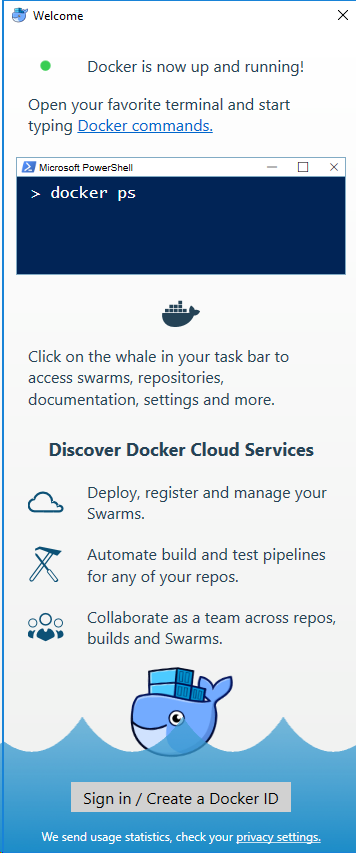
“Docker for Windows” running on an Azure VM with nested virtualization.
Debug a .NET CORE 2 service with Visual Studio 2017
Visual Studio 2017 Community was included in the Azure VM image, but it probably did not include .NET CORE and Docker tooling.
Open “Visual Studio Installer” from the start menu and click on “modify”. To my surprise, Microsoft have installed everything?
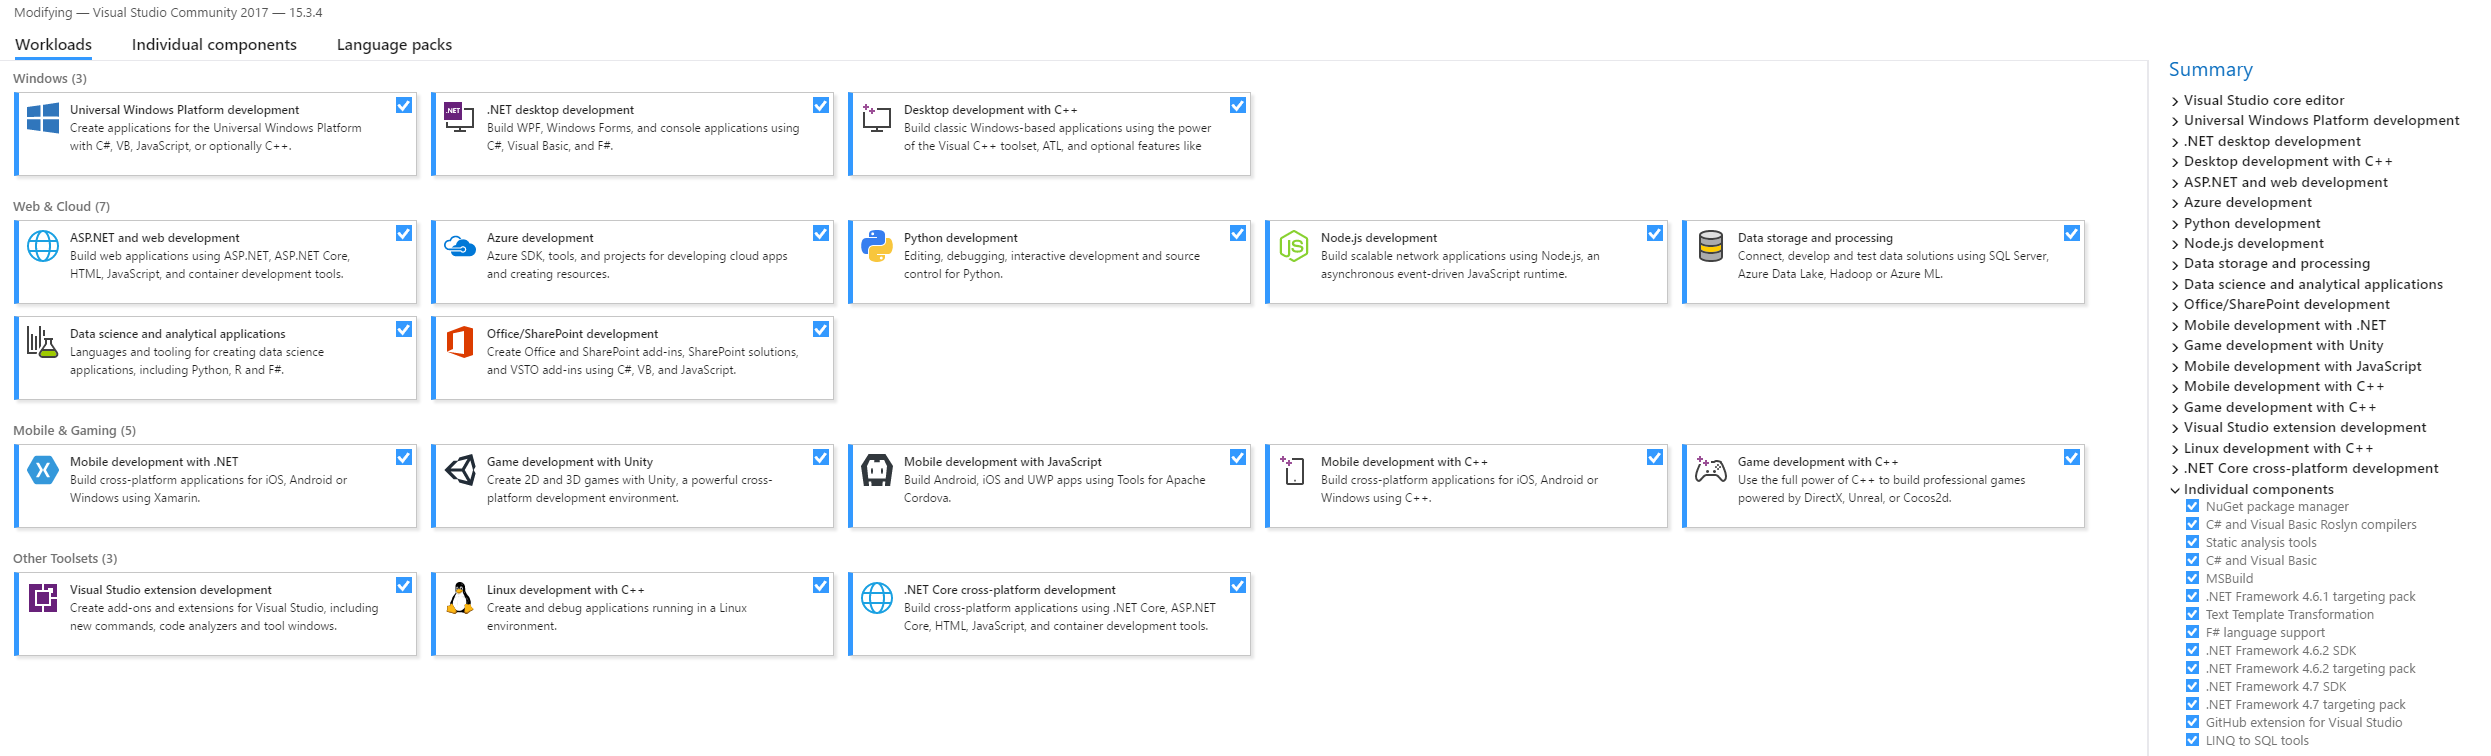
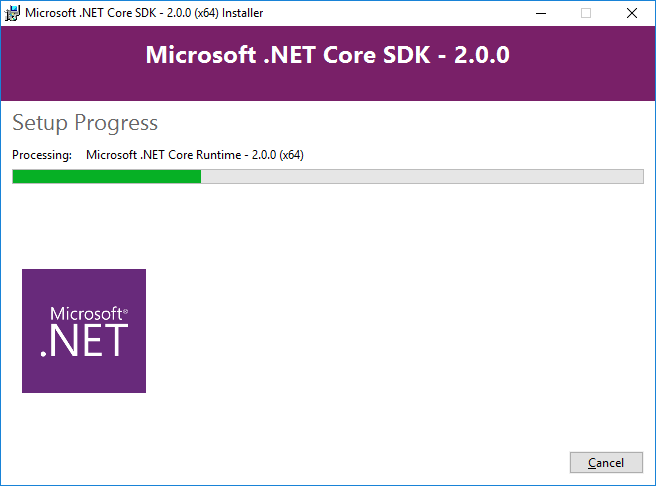
But the Azure image did not container .NET CORE 2, so we need to install that and restart Visual Studio:
https://github.com/aspnet/Tooling/blob/master/install-2.0-vs15.3.md
Creating a new service:
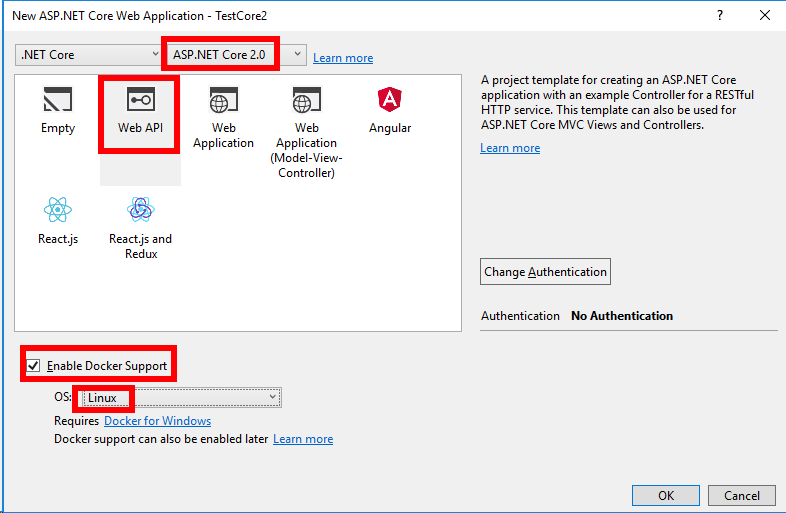
Remember to tick “Enable Docker Support” and choose “Linux”.
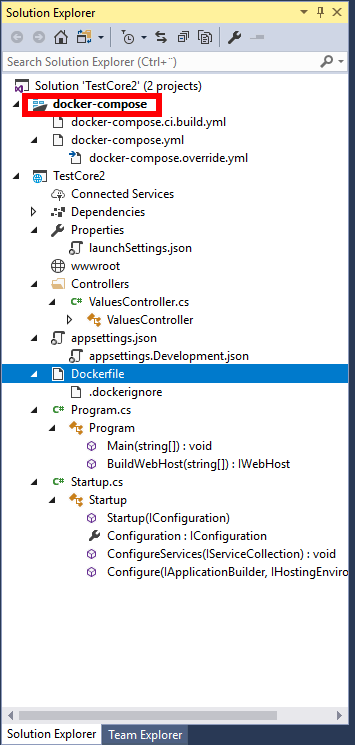
Make sure the “docker-compose” is set to be “StartUp Project”.
Click on “ ![]() ” to start debugging.
” to start debugging.
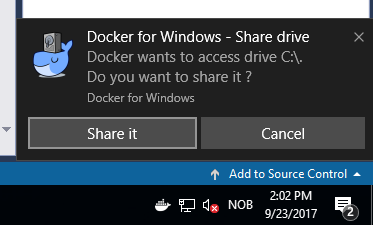
Eventually you might get this popup. Click on “Share it” to enable access to your source files directly in the Container.

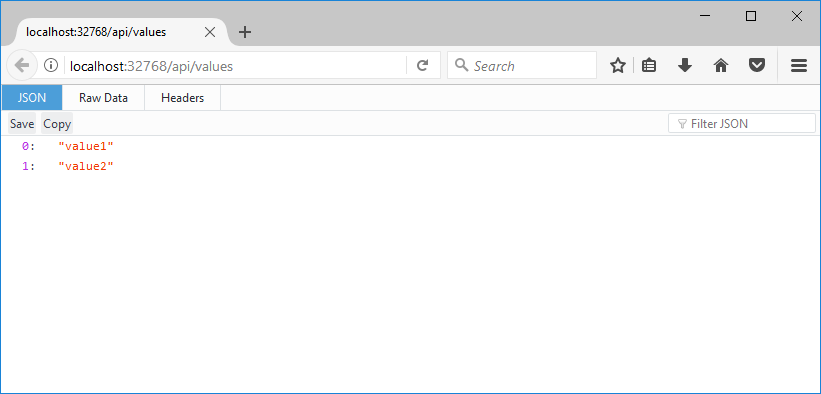
So nested virtualization in Azure together with “Docker for Windows” is definitely working!
Debugging is also working!
A few small bumps to get there, but they were trivial to fix. Great success.
Links:
https://azure.microsoft.com/en-us/blog/nested-virtualization-in-azure/